
Pre-trip inspection photo checklist
Many carriers ask drivers to send photos of the truck and trailer as proof of a pre-trip inspection. This is the full list of shots the Milebit app walks a driver through, with an example for each one and what a safety team looks for.
Rules
- Take full photos of the truck and trailer on the inspection days your carrier sets. Many carriers use Monday and Friday.
- Send trailer photos at every pickup and drop-off if your carrier asks for them.
- Keep the truck and trailer lights on while you shoot. Use the light test button.
- Take the photos in the Milebit app. It records the date, time and location itself, so you don't need a separate timestamp app.
- Add short videos of the lights, tires and brakes.
- Make sure the trailer has a current annual inspection label.
- Report any truck or trailer issue to your safety team right away. Don't wait for the inspection day.
Truck
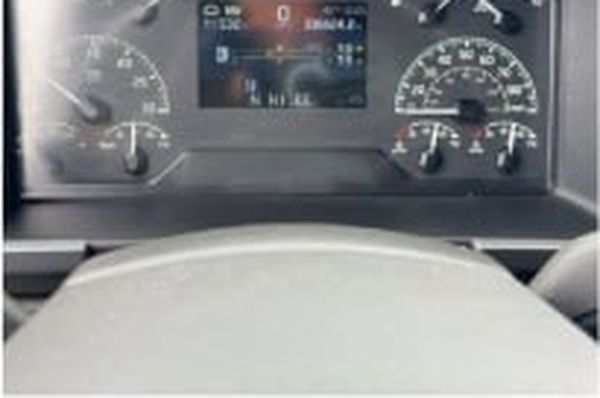
Dashboard
Turn the ignition on and photograph the dashboard so every gauge and warning light is visible.
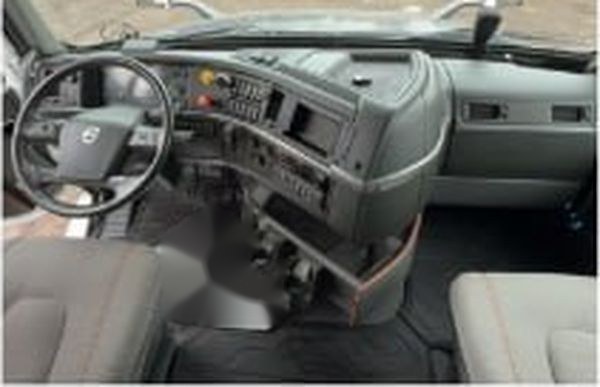
Cab interior
Photograph the cab interior — seat, seatbelt, and controls in frame.
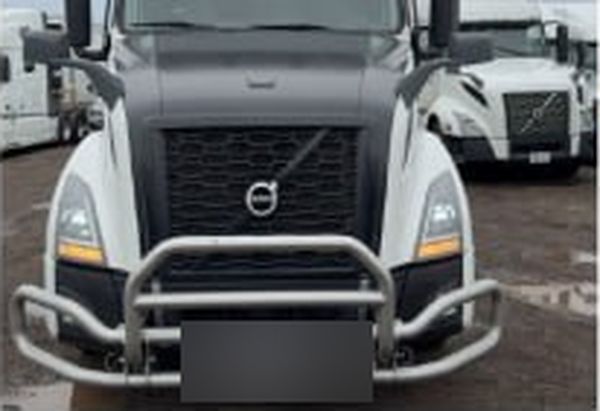
Front side
Shoot the front of the truck straight on — bumper, headlights, and windshield in frame.
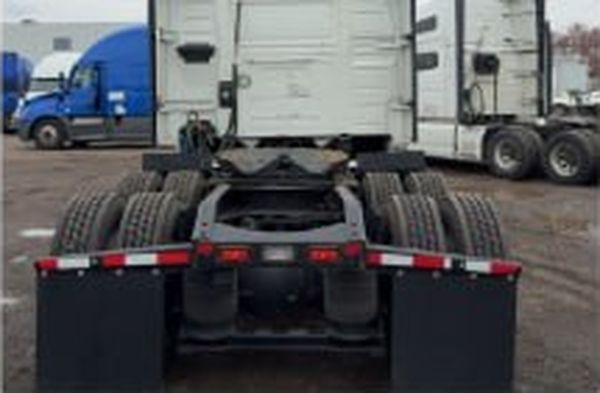
Back side
Photograph the back of the truck — fifth wheel and rear lights in frame.
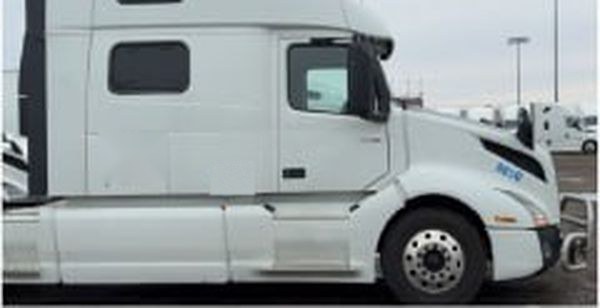
Right side
Step back and capture the full length of the right side.
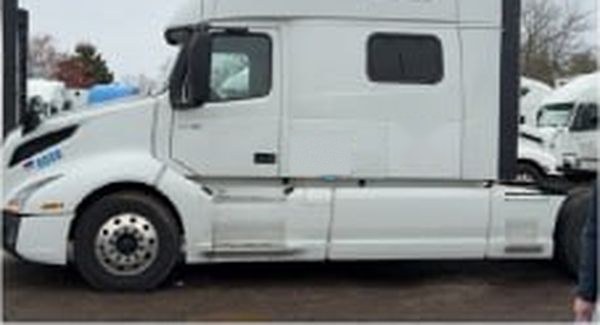
Left side
Step back and capture the full length of the left side.
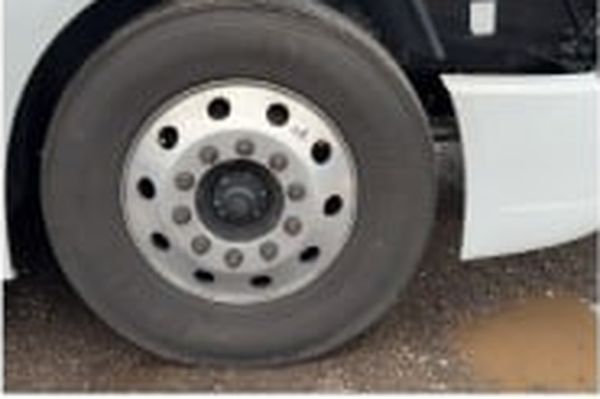
Right steer tire
Photograph the right steer tire and wheel, including the sidewall.
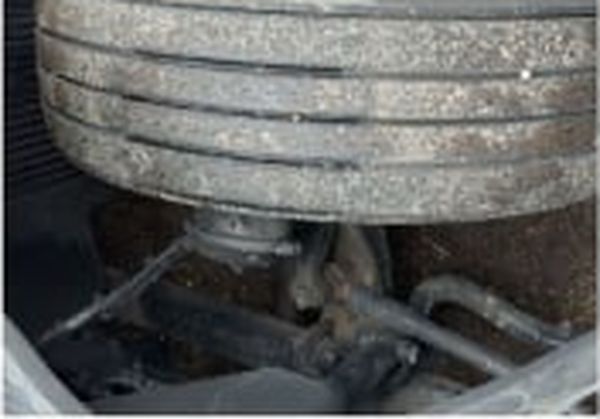
Right steer tire tread
Crouch and shoot the tread straight on so the grooves are readable.
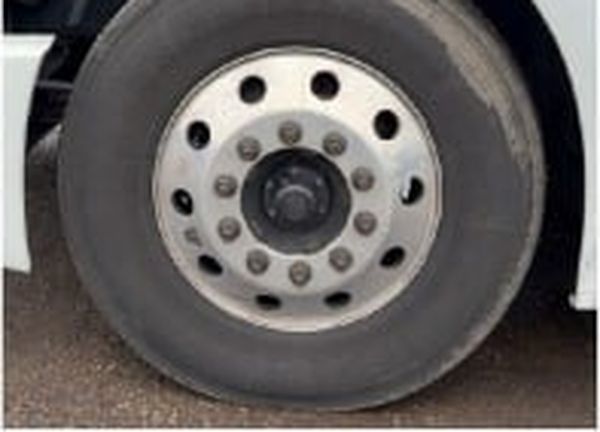
Left steer tire
Photograph the left steer tire and wheel, including the sidewall.
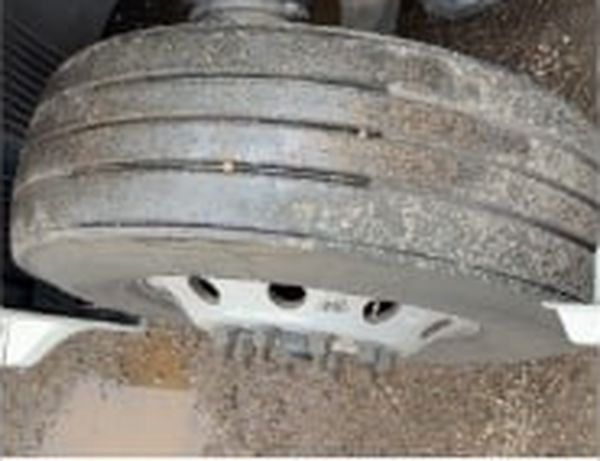
Left steer tire tread
Crouch and shoot the tread straight on so the grooves are readable.
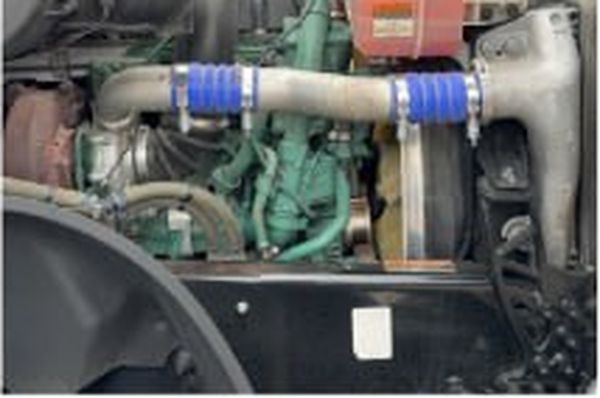
Right engine compartment
Open the hood and photograph the right side of the engine compartment.
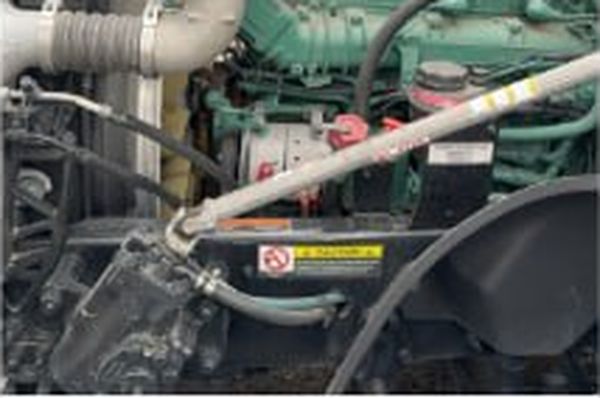
Left engine compartment
Open the hood and photograph the left side of the engine compartment.
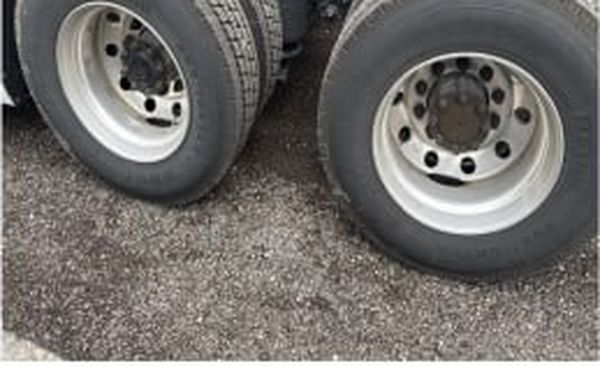
Driver side drive tires
Step back so both drive axles on the driver side are visible.
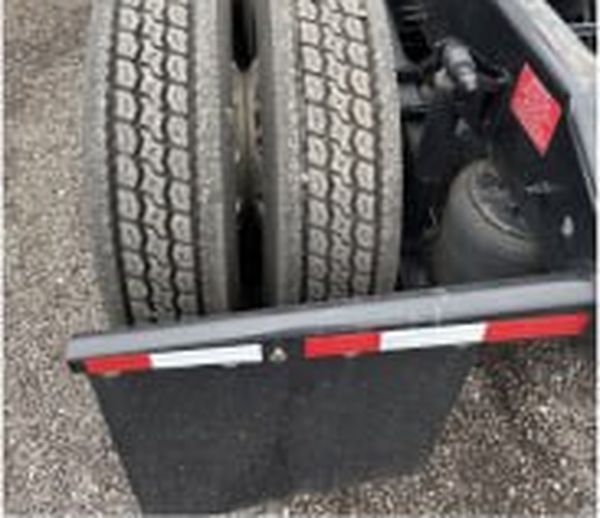
Driver side drive tires tread
Shoot low so the inner tire tread is visible too.
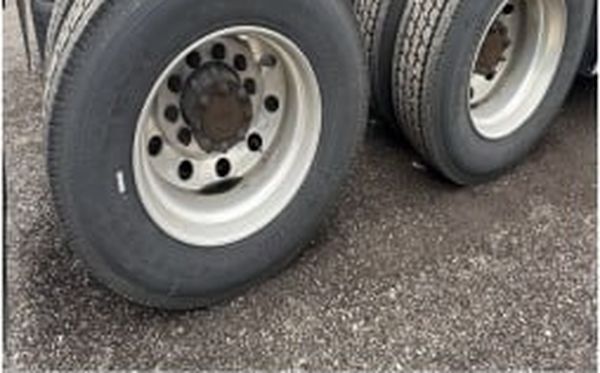
Passenger side drive tires
Step back so both drive axles on the passenger side are visible.
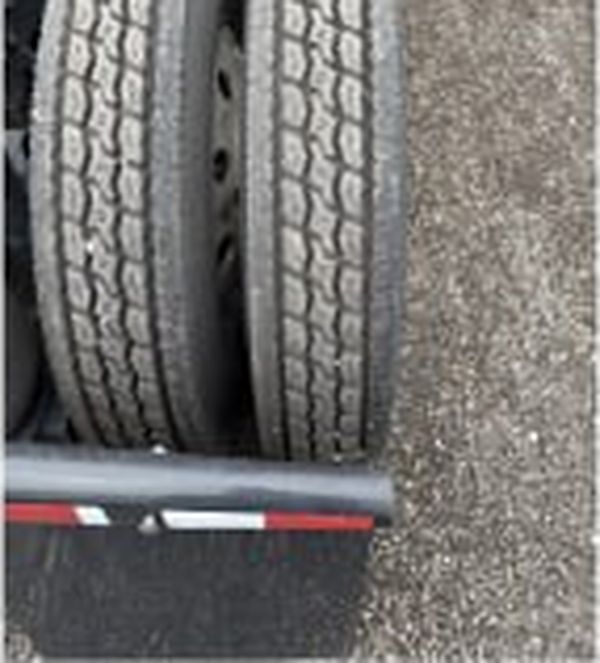
Passenger side drive tires tread
Shoot low so the inner tire tread is visible too.
Trailer
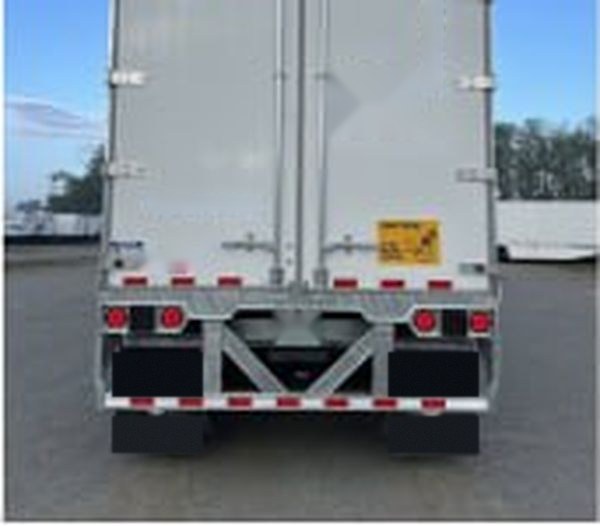
Back side
Photograph the back of the trailer — doors, lights, and reflectors in frame.
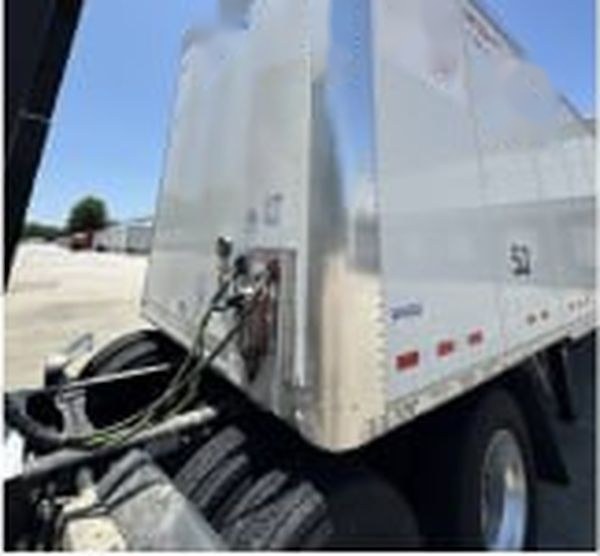
Front, hooked
Photograph the front of the trailer while it is hooked to the truck.Trailer hooked.
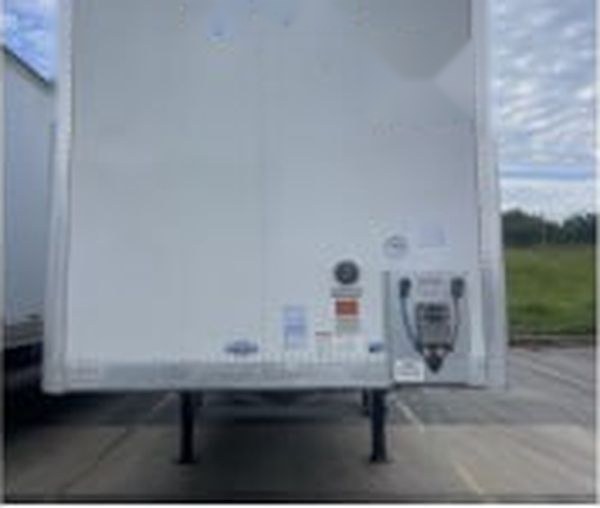
Front, dropped
Photograph the front of the trailer while dropped — landing gear and kingpin in frame.Trailer dropped.
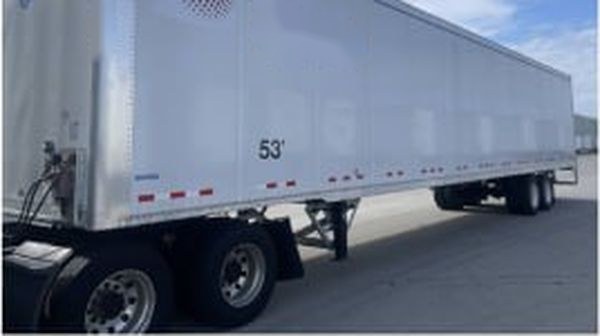
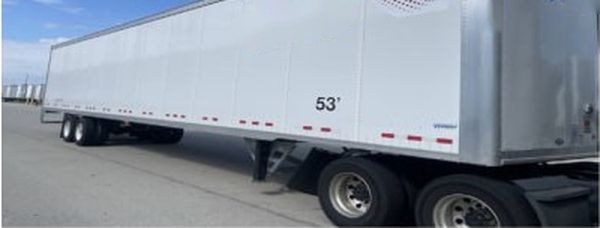
Driver side
Step back and capture the full length of the driver side.
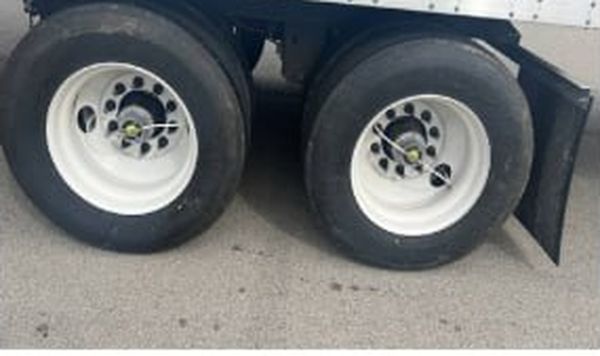
Passenger side
Step back and capture the full length of the passenger side.
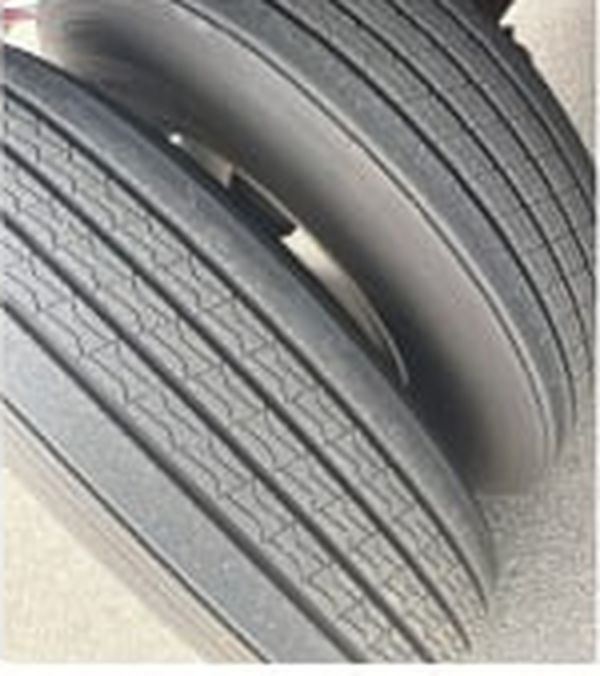
Driver side trailer tires
Shoot so the inner tire is visible too.
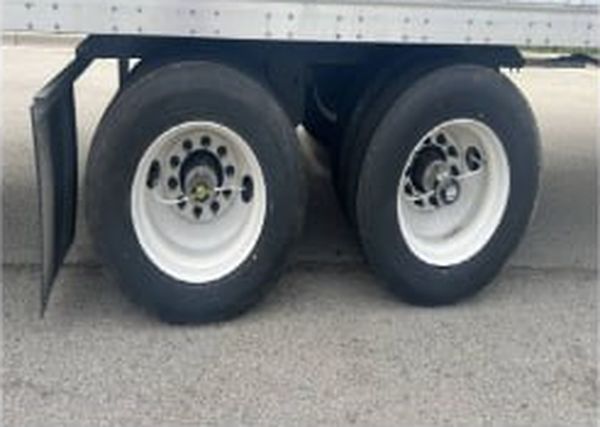
Driver side tires tread
Crouch and shoot the tread straight on.
Passenger side trailer tires
Shoot so the inner tire is visible too.
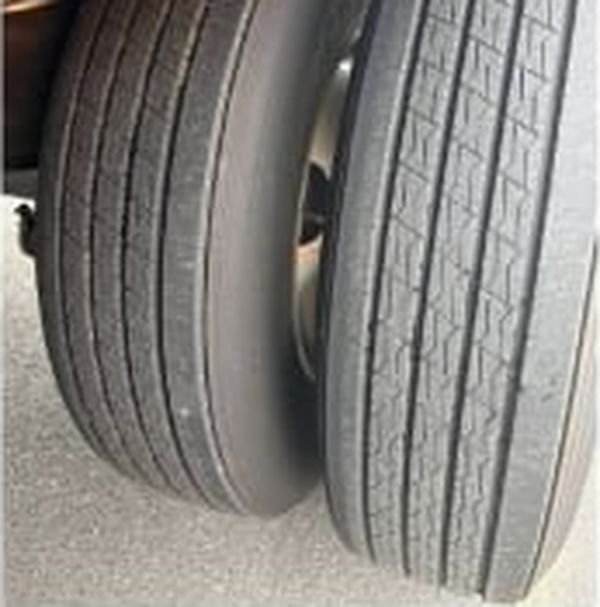
Passenger side tires tread
Crouch and shoot the tread straight on.
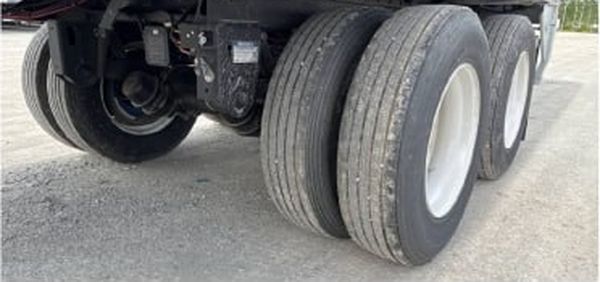
All tire tread depths
Shoot from a low angle so every tread is visible in one frame.
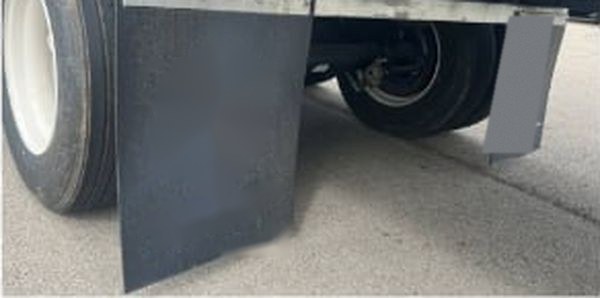
Both mudflaps
Photograph both mudflaps clearly.
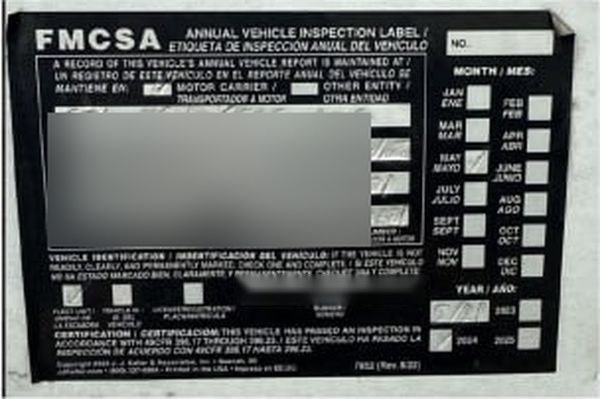
Annual vehicle inspection label
Photograph the annual inspection label so the date is readable.
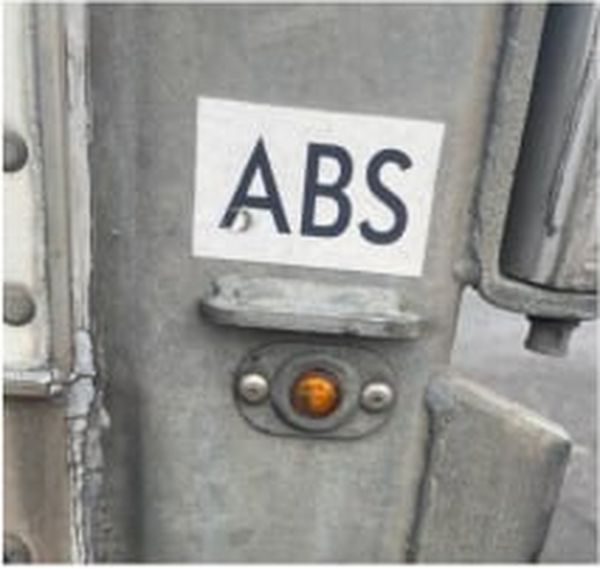
ABS light
Photograph the ABS light — not covered, not lit.
Emergency equipment and air lines
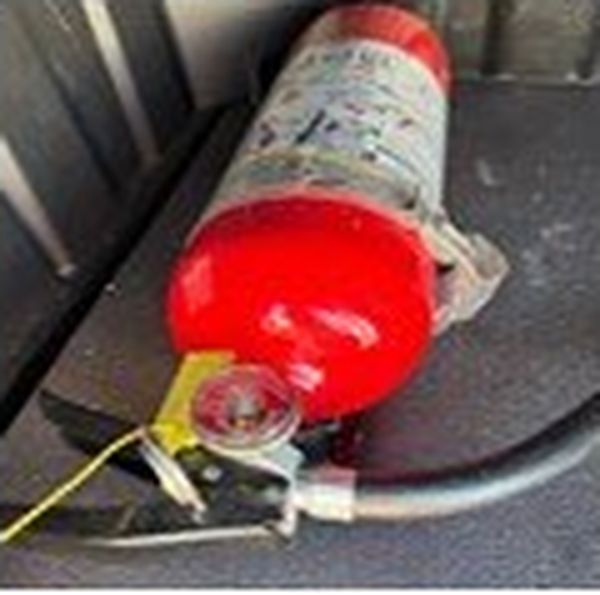
Fire extinguisher
Photograph the mounted extinguisher — gauge and seal must be readable.
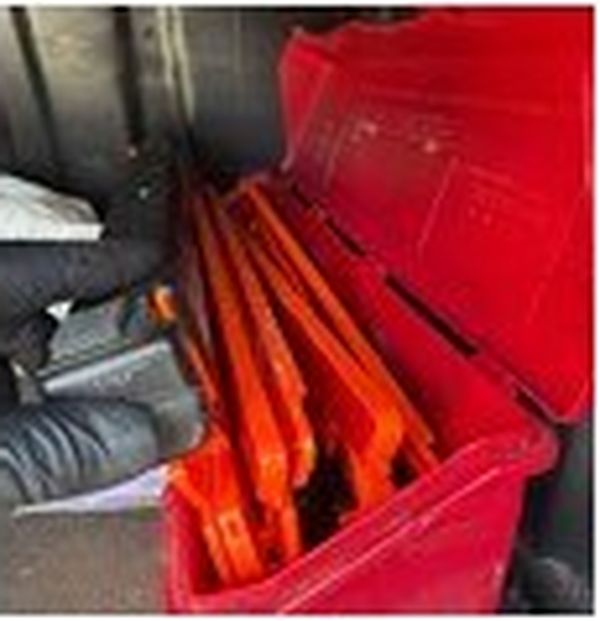
Warning triangles
Photograph all three warning triangles.
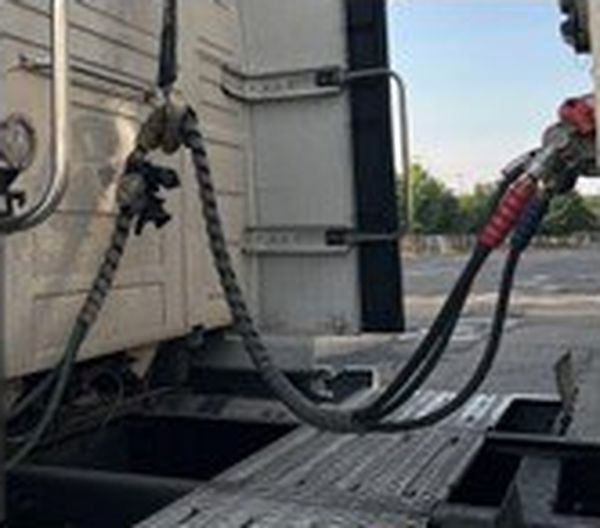
Brake hose and air lines
Photograph the brake hose and air lines — no pinching or chafing.
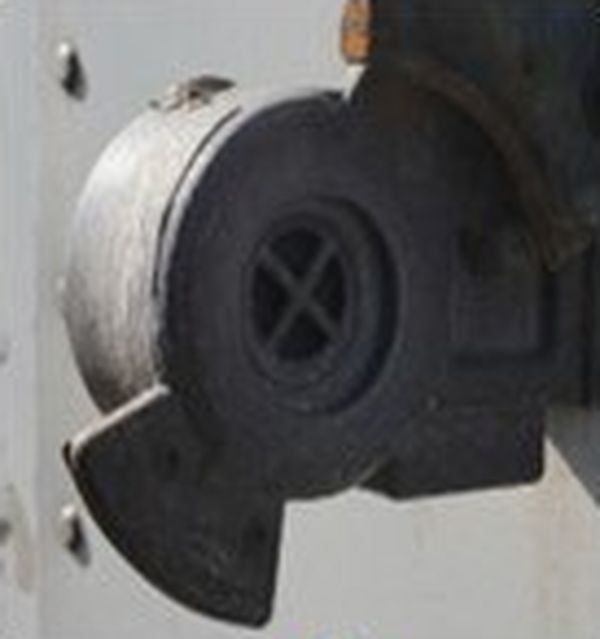
Gladhand rubber seals
Photograph the gladhand rubber seals — no cracks.Trailer hooked.
Videos
- Video
Lights
Press the light test button and walk around the vehicle, ≤ 20 s.
- Video
Tires
Walk the length of the vehicle recording the tires.
- Video
Brakes
Have the brakes applied and record so any air leak is audible.
What fails
Fire extinguisher
- Not mounted, no seal, or the gauge is out of the green.
- Stored where it can't be reached quickly.
Warning triangles
- Fewer than three, or broken.
Brake hoses and air lines
- Pinched, kinked or rubbing against anything.
- Gladhand rubber seals cracked, damaged or missing.
ABS light
- Stays on, on the dashboard or the trailer.
- Taped, covered, missing, or its wire is cut.
Tires
- Worn tread, cuts or bulges.
- The inner dual tire is not visible in the photo.
For carriers
In the Milebit fleet dashboard your safety team sees every inspection with the photos next to these examples, decides on each defect the AI flags, sends defects to repair as work orders and asks a driver to retake a photo. The same sheet prints from the dashboard with your company name and inspection days. About Milebit